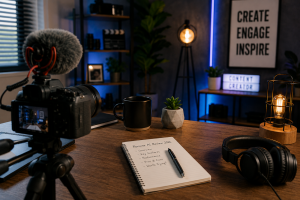
Generating high-quality AI video is incredibly powerful, but these renders can sometimes feel disconnected from the organic, fast-paced nature of short-form social video. If you want your AI Reels to perform well, they need to look and feel native to Instagram.
Instead of exporting your AI video to complex desktop software for a final pass, you can do all the necessary finishing work directly inside the Instagram app. Using Instagram's built-in filters, AR effects, and text tools helps bridge the gap between a synthetic generation and a highly engaging piece of Instagram content.
Accessing the Instagram Reels Camera and Effects
To start polishing your AI video, you first need to bring it into Instagram's native editor. You can begin by tapping the Create button at the bottom of your Instagram screen and selecting the Reel option, or simply swipe right from your main Instagram Feed. Once you scroll to the Reels setting at the bottom, you can upload your pre-generated AI video into the Instagram workspace.
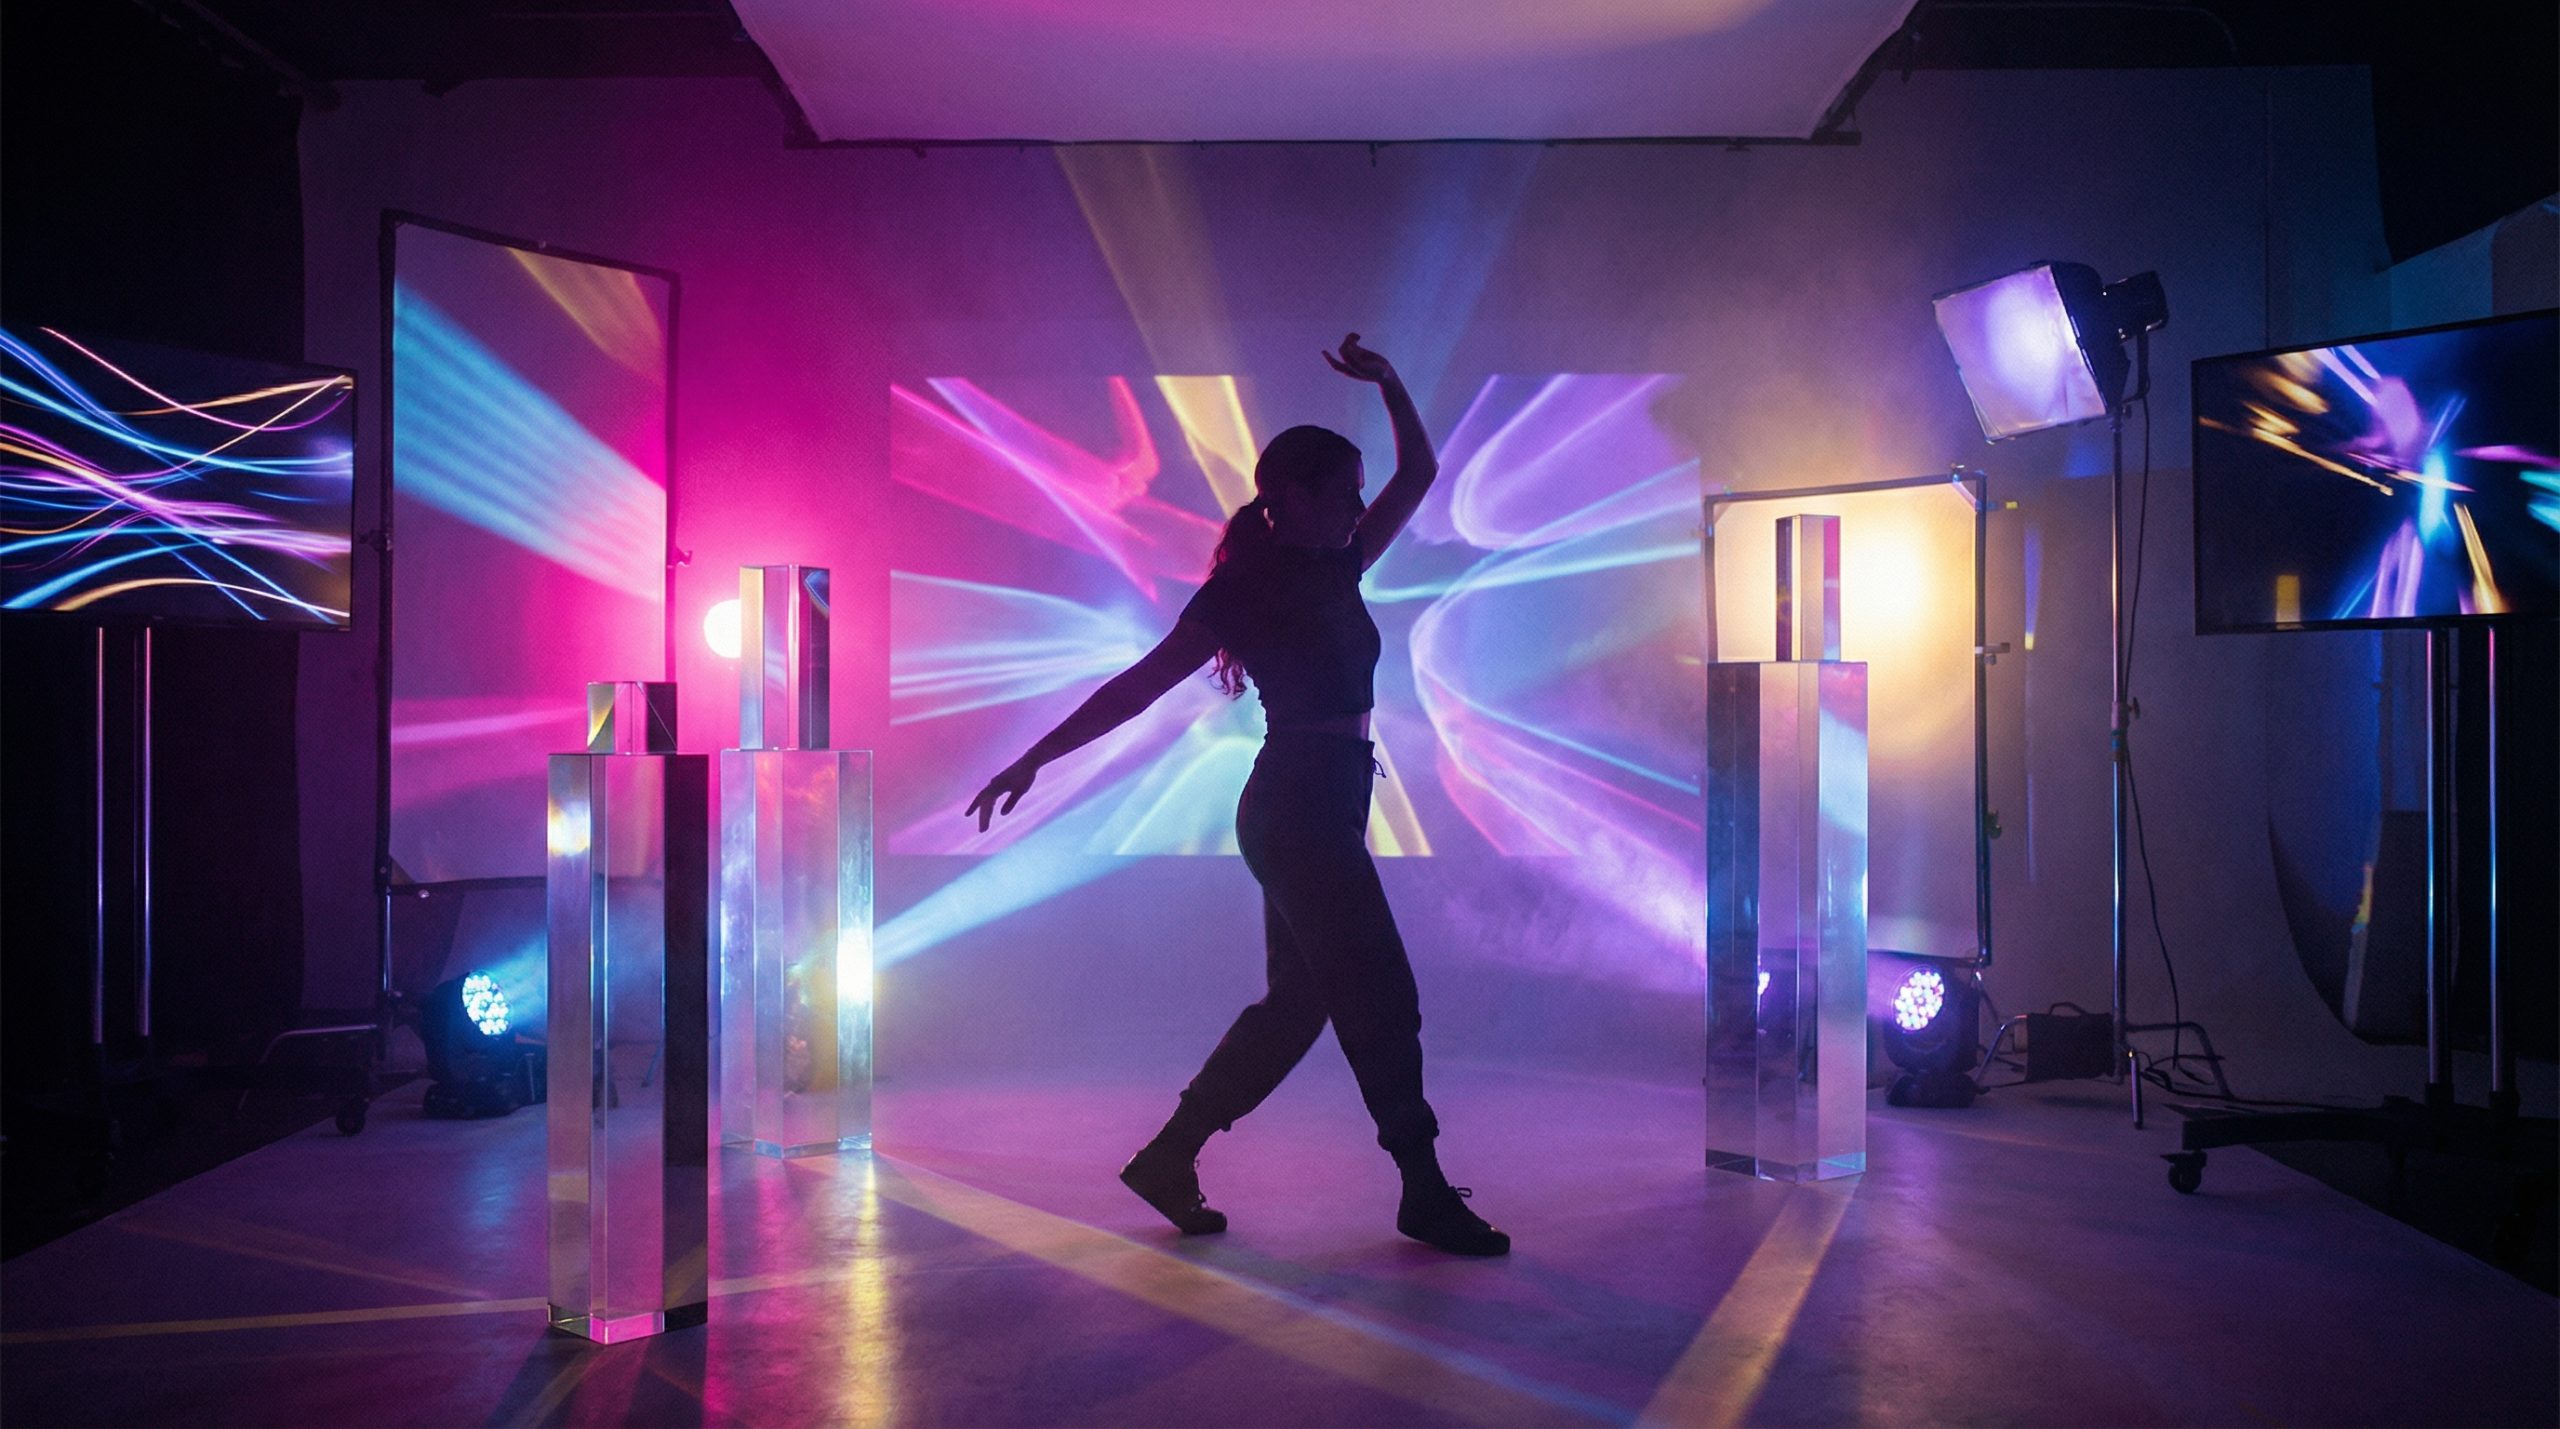
Before you finalize the video, you can tap the Effects icon to scroll through various Instagram overlays and select one that fits your aesthetic. If you want to push the creative boundaries of your Instagram Reels—perhaps by adding dynamic lighting or stylized AR elements to an AI avatar—you can browse through a vast library of Instagram effects made by independent creators.
Applying Instagram Filters to AI Video
Sometimes an AI video just needs a simple color grade to match your brand's visual identity on Instagram. Once your video is in the Instagram editor, you can effortlessly swipe left or right across the screen to preview and add a native Instagram filter directly to your footage.
If you prefer more granular control over your Instagram content, you can click Next after uploading your video and click on the specific filter you wish to apply. To ensure the Instagram filter enhances rather than ruins your AI render, use the provided slider beneath the filter options to drag left or right, carefully adjusting the overall strength of the effect before posting to Instagram.
Trimming and Pinning Text on Instagram
Pacing is critical for Instagram Reels. If your uploaded AI video runs slightly too long, you can use the Instagram video trimmer located at the bottom of the screen to cut the clip down to its most engaging moments, though this specific Instagram trimming feature is currently limited to iOS devices.
Adding context through text is also essential for Instagram success. When you tap to add text on Instagram, you can adjust its size with a slider, align it, change the text style, or add a solid background color to make it pop against busy AI backgrounds. For dynamic AI videos with moving subjects, you can actually pin your text to a specific, moving location within the Instagram frame. After typing your copy in Instagram, tap and hold the text block, use the slider bar to scroll through the video to find the exact placement frame, move the text to the desired spot, and hit Pin.
Drawing Custom Elements in Instagram
To add a final, distinctly human touch to your AI Reels, you can utilize the native Instagram Draw tool. This Instagram feature allows you to choose from various brushes and drawing tools at the top of the screen, and you can adjust the thickness of your lines using the slider on the left.
To keep your Instagram color palette cohesive with your AI generation, you do not have to guess the right shade. You can tap the Instagram Choose colors tool, then drag and drop the eyedropper to select an exact color directly from a pixel within your AI video.