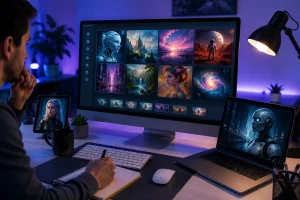
The AI video landscape changed rapidly with the arrival of Kling 3.0 and Omni models. However, many users still struggle with blurry faces, shaky camera motion, flickering lights, and distorted objects. This is where negative prompts for Kling AI become useful. In this guide, you will explore the best Kling AI negative prompts, writing tips, and a smarter workflow upgrade with MagicLight AI.
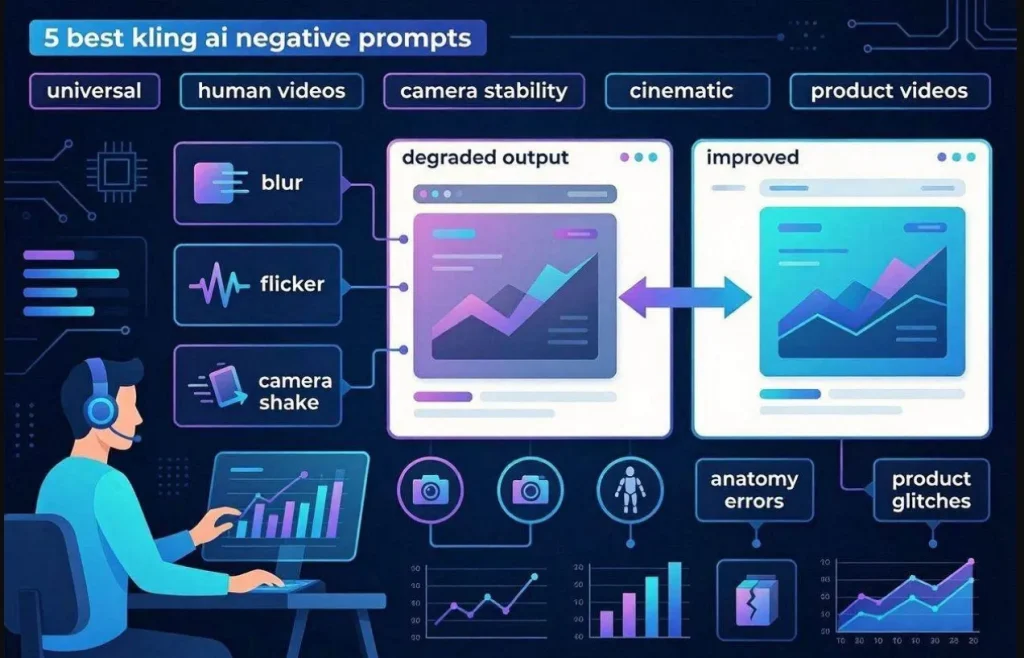
Part 1. 5 Best Kling AI Negative Prompts
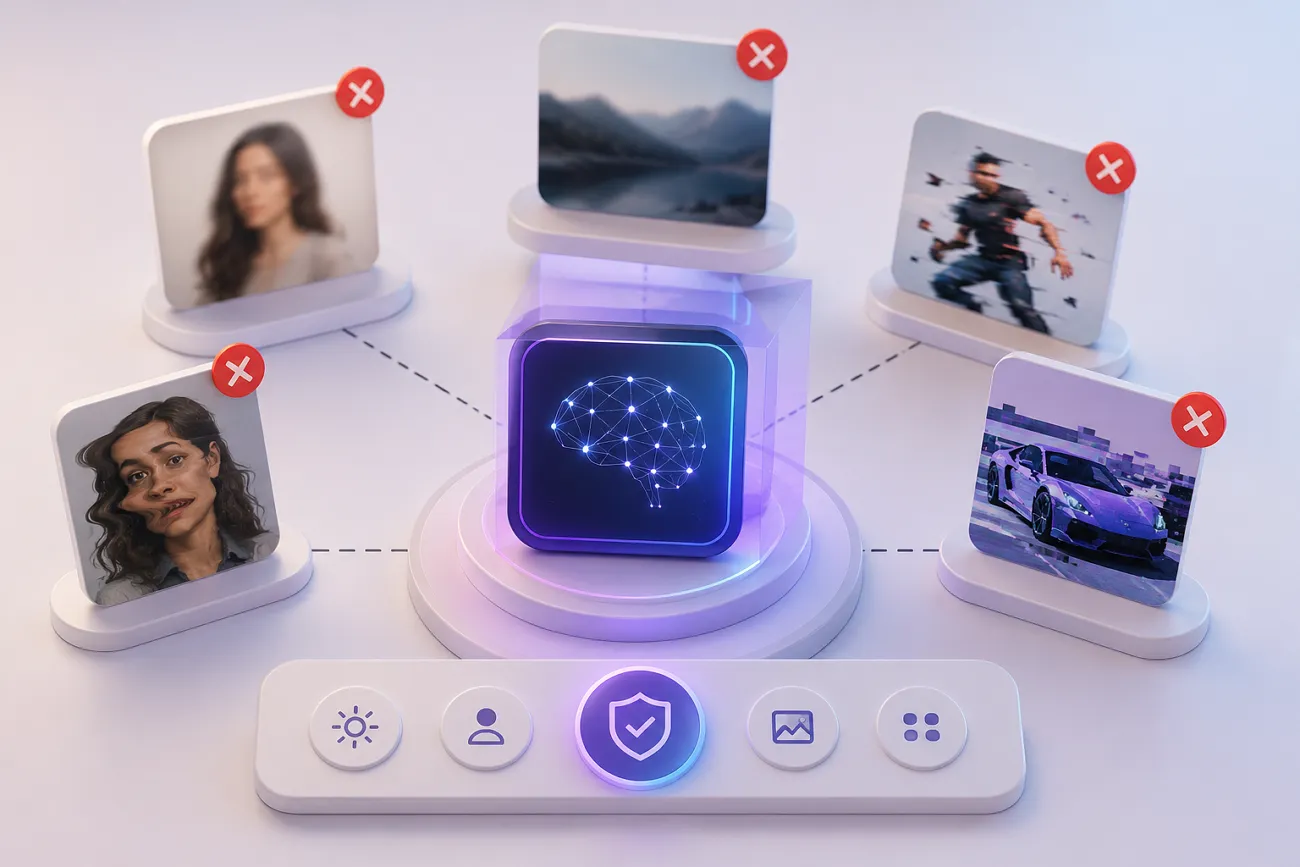
With the latest Kling 3.0 update, the negative prompt engine uses “Negative Semantic Mapping.” Instead of placing restrictions inside the main prompt, users can define unwanted elements separately. This approach helps the model understand what to avoid without confusing scene generation. Below are 5 tested best negative prompts for Kling AI categories that help reduce common visual problems:
Universal Kling AI Negative Prompt List
Universal Kling AI negative prompts and Kling AI best negative prompts help improve video quality across different content styles. These prompts remove common visual problems like blur, flickering, and unstable motion. Many creators use universal prompts before adding specialized negative prompts for specific video categories.
Example:
“Blur, low quality, distorted anatomy, flickering, unstable motion, unrealistic shadows, duplicate objects”
Negative Prompts for Realistic Human Videos
Realistic human videos in Kling AI often struggle with facial and body inconsistencies, as seen in Kling AI negative prompt Reddit discussions. Negative prompts help remove distortions, unnatural skin textures, and robotic movements for natural results. They improve realism by guiding the model away from common human-generated errors affecting expression and anatomy.
Example:
“Unnatural skin texture, stiff movement, facial distortion, broken anatomy, floating limbs”
Negative Prompts for Camera Stability
This negative prompt for Kling AI helps control unwanted motion and framing issues in Kling AI videos. They reduce shaking, random zooming, and unstable movement that appear during generation. These prompts ensure visual flow and results, especially in cinematic and storytelling videos where steady camera work is essential.
Example:
“camera shake, unstable framing, sudden zoom, drifting motion, unwanted jitter.”
Negative Prompts for Cinematic Videos
Most cinematic videos require careful control of lighting, composition, and visual tone. Using Kling AI's best negative prompts helps remove unwanted effects like overexposure, artificial glow, and poor framing. They ensure smoother, film-like results with balanced atmosphere and professional cinematic quality for storytelling projects.
Example:
“Overexposed lighting, artificial glow, poor composition, unstable shadows, harsh contrast, visual artifacts.”
Negative Prompts for Product Videos
Product videos in Kling AI require high visual accuracy and stable object presentation. This negative prompt for Kling AI helps remove distortions, incorrect textures, and background noise that can reduce product clarity. It ensures cleaner commercial visuals, better branding consistency, and more professional-looking marketing outputs.
Example:
“Incorrect color tone, duplicate objects, flickering details, unstable product positioning, visual quality loss.”
Part 2. How to Write Effective Kling AI Negative Prompts?
Writing negative prompts requires a different logical approach than writing positive prompts. To get the most out of Kling AI's best negative prompts, keep these professional strategies in mind:
- Use Clear Phrases: Use short and simple phrases to describe unwanted visual issues clearly. This helps the system remove problems like blur, distortion, and noise effectively.
- Prompt Economy Rule: Keep your negative prompts list under 30 precise words for better control. Avoid adding a long list of random word overloads since it confuses the model and reduces video quality.
- No Contradiction Rule: Don’t add conflicting instructions between the main prompt and the exclusion list. Such mixed signals can confuse the model and reduce overall scene accuracy.
- Opposite Writing Trick: Use positive wording like “sharp focus” or clean background instead of only negative terms. This helps guide the model toward a clearer and better visual direction.
- List Format Approach: Write exclusions in comma-separated form instead of full sentences. These improve system understanding and keep instructions easy to process during rendering.
Apart from exploring effective prompt tips: adhere to the given guide to apply a negative prompt in Kling AI to generate a video:
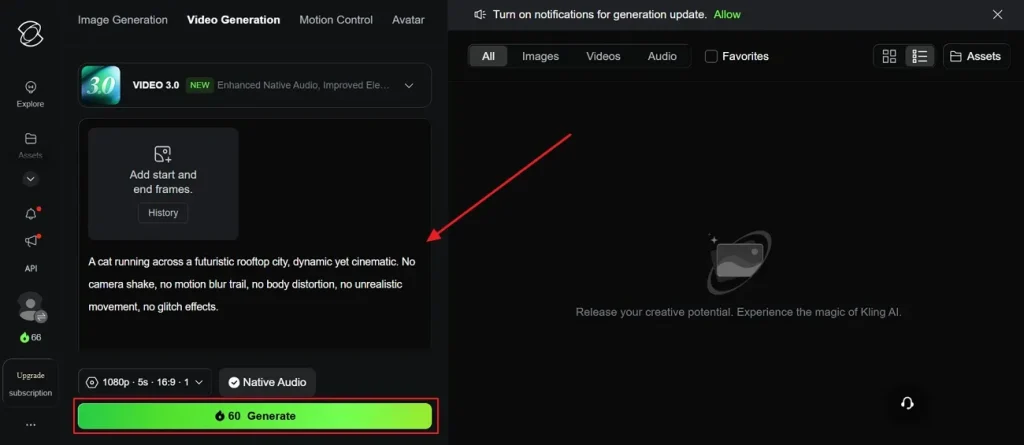
Step 1. Access the official page of Kling AI and choose the Video Generation feature.
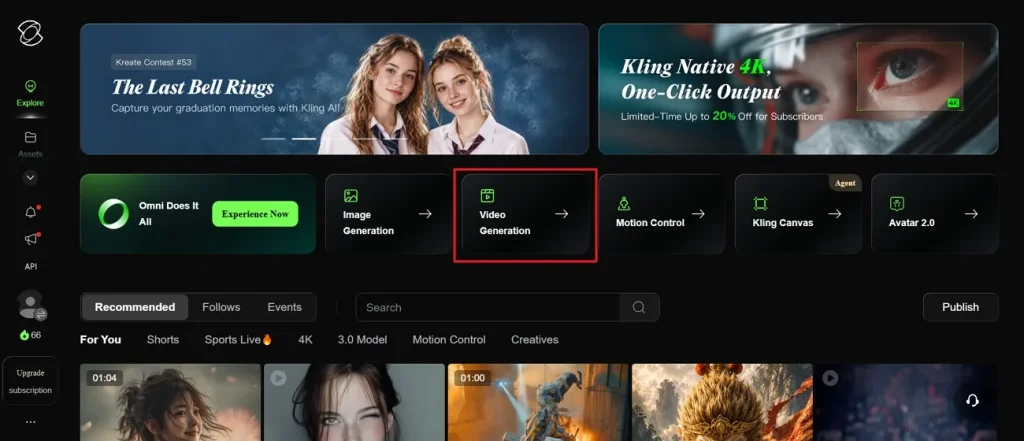
Step 2. After that, enter your negative into the provided Text Box and press Generate.
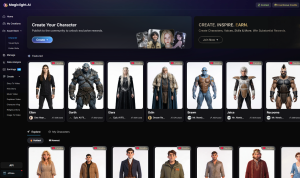
Part 3. Upgrade Your Kling AI Workflow With MagicLight AI
A strong negative prompt for Kling AI fixes individual scenes but cannot build full videos alone. Each scene needs separate attention, and small errors can ruin the entire video project. This creates demand for a tool that manages the entire video workflow. MagicLight AI handles this complete process automatically by converting scripts into structured visual stories. With script input up to 12,000 characters, it generates videos up to 50 minutes.
While generating AI videos, it maintains character stability and visual continuity across multiple generated scenes. Instead of relying on negative prompts, MagicLight AI automatically manages every storyboard frame with structured control and consistency. The tool also provides 13 AI story models, including GPT, Gemini, Qwen, and Claude options. Plus, it automatically generates an editable storyboard for refining scenes before the final rendering process.
Key Features
- Style Control: Supports multiple visual styles, including cinematic, Pixar, Disney, and anime modes.
- Animation Convert: Transforms the storyboard into an animation using 16 different available rendering models.
- Character Builder: Creates or selects characters with customizable identity, voice, and appearance settings.
- Voice Engine: Uses ElevenLabs and MiniMax speech models for natural audio generation.
- Nano Editing: Enables micro-level adjustments for characters' clothing, poses, expressions, and body structure.
Easy and Complete Guide to Generate High Quality Videos with MagicLight AI
Go through the steps below if you want to generate cinematic, realistic, and flexible video content:
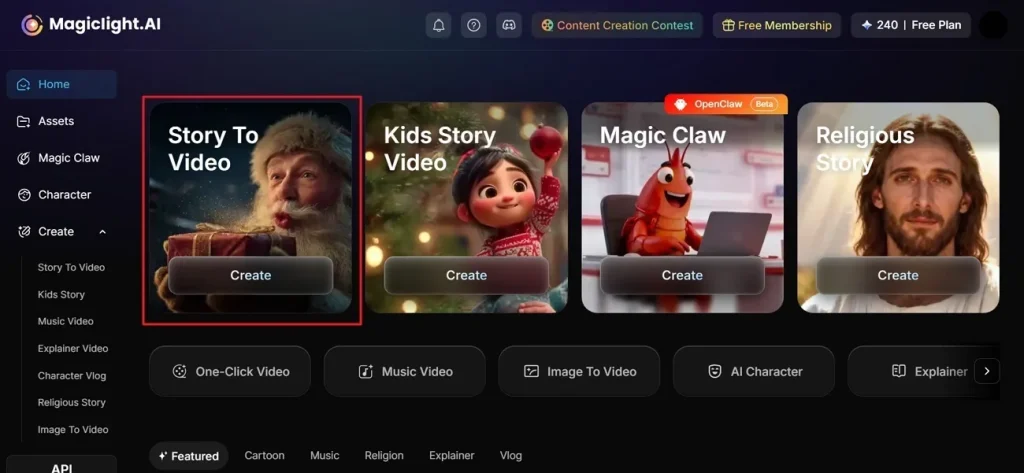
Step 1. Create a New Project in MagicLight AI
From the main screen, select the Story to Video feature after accessing the MagicLight AI.
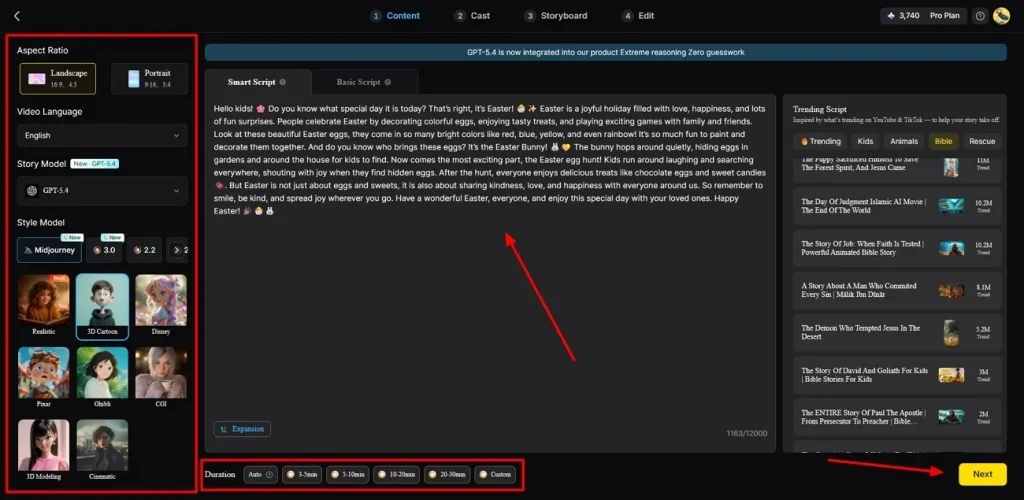
Step 2. Prompt Mapping and Adjust Settings
Next, type your story idea inside the provided Text Box and select your target Video Language from the left sidebar. Then select a custom Aspect Ratio that suits your content style and pick an AI Story Model, such as GPT-5.4. Afterward, pick a Style Model for your visual aesthetic and set the Video Duration. Once the settings are adjusted, opt for Next to proceed.
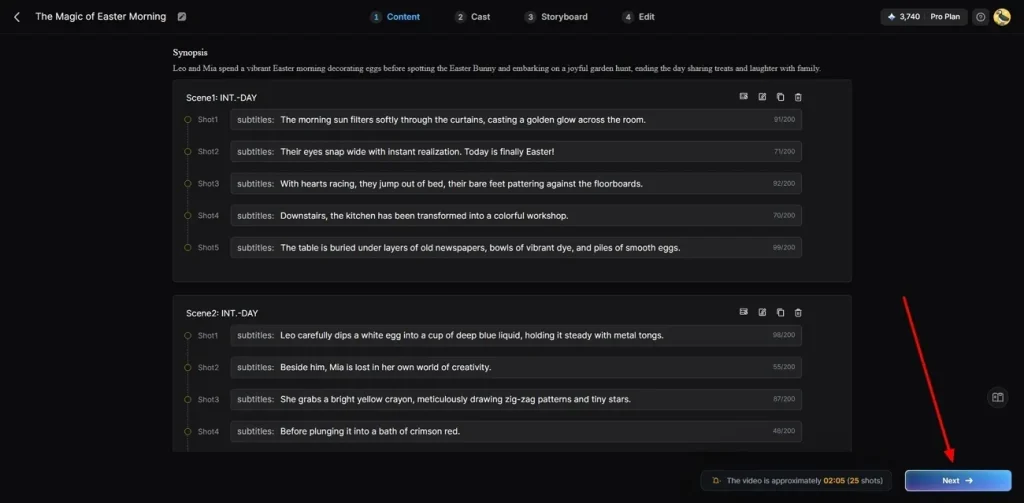
Step 3. Audit Your AI Story
Now, give the generated AI video summary a quick read-through to make sure the pacing is on point, then click Next.
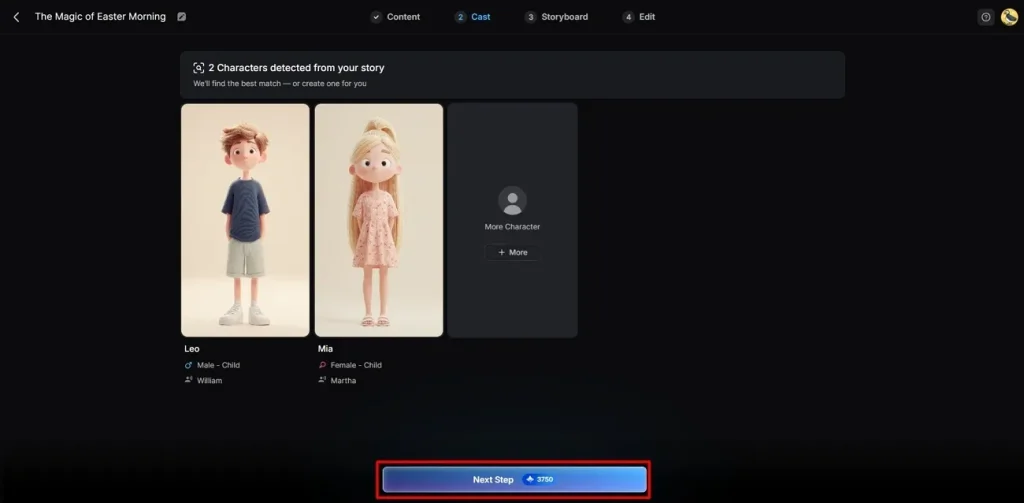
Step 4. Cast Your Digital Actors
The platform will automatically pitch custom characters that fit your vibe. Grab a pre-made avatar from the library or use the More Character tool to build a unique cast and opt for Next Step.
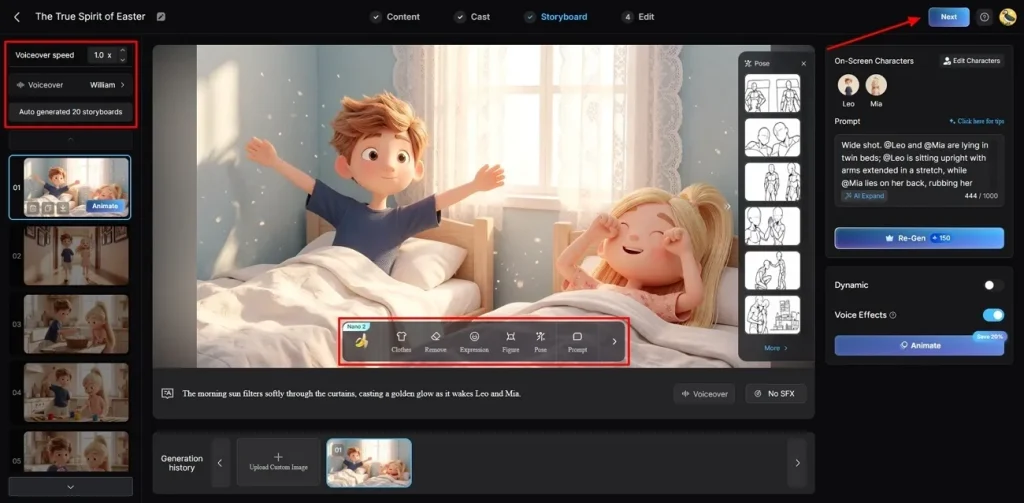
Step 5. Fine-Tune Characters and Storyboard Details
In the Storyboard editor, modify Voiceover settings from the left panel and adjust Voiceover Speed as needed. Edit individual scenes to boost quality, change character Outfits, adjust Pose, and overall appearance. Review your changes and opt for Next to start rendering.
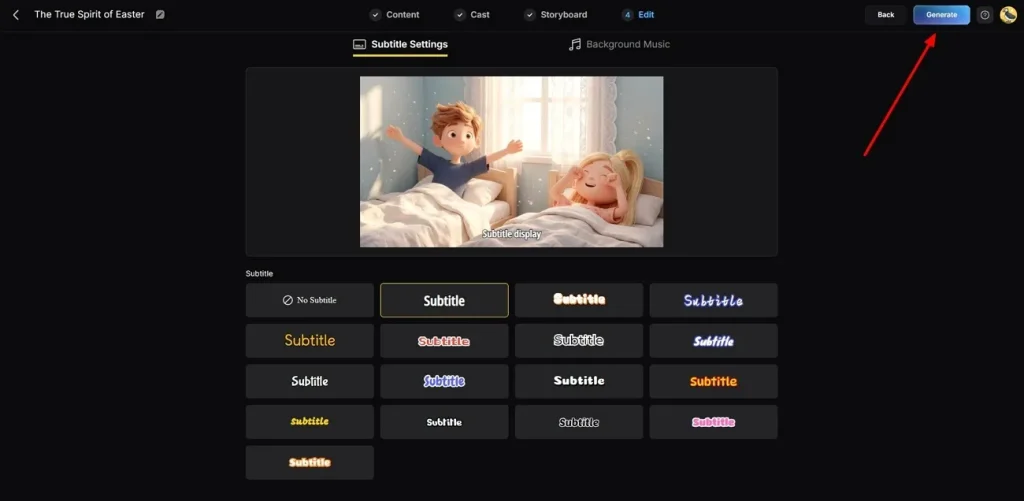
Step 6. Add Music and Caption Settings
Later on, head to Subtitle Settings to generate subtitles and place automated captions on the video. For audio, open Background Music to pick a track matching your project's tone. Confirm everything looks good and click Generate to start producing your final video.
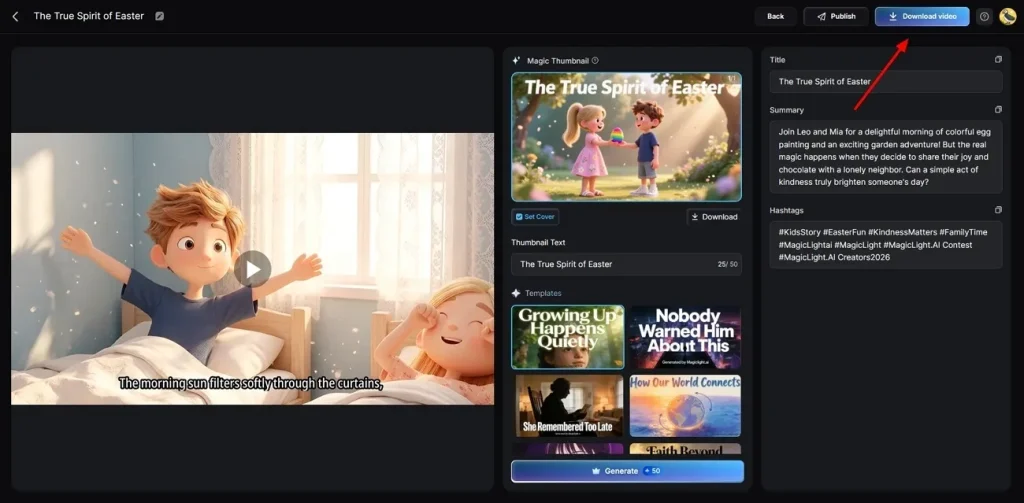
Step 7. Preview and Export the Rendered Project
Preview your completed video using the built-in playback feature before downloading anything. Add a Thumbnail or Hashtags if needed, then hit Download Video to save it.
Conclusion
To conclude, using negative prompts for Kling AI improves accuracy and reduces unwanted video glitches. It supports better control of visuals but does not handle the full production workflow. However, creators still face challenges in managing long, structured videos and need an advanced tool. Thus, MagicLight AI provides this by automating storytelling and generating full videos from scripts.
FAQs on Kling AI Negative Prompt
1. Why are my Kling AI videos blurry?
Blurry videos often happen due to weak prompts or low-detail input. Missing quality keywords can reduce sharpness and visual clarity in output. So, use clear descriptions and negative prompts to improve focus and reduce blur.
2. How many negative prompts should I use in Kling AI?
Keep your negative prompt list between 10 and 20 short and specific terms only. Using too many random words confuses the model and weakens your overall video output quality. However, MagicLight AI handles advanced quality control without using complex words.
3. Can negative prompts stop camera movement in Kling AI?
Yes, they can reduce unwanted camera shake and unstable motion effects. Use phrases like camera shake, jitter, and unstable framing for better control. However, strong positive prompts also help stabilize overall scene movement quality.
4. Can negative prompts reduce flickering in Kling AI videos?
Flickering issues can be reduced using proper negative prompt keywords. Terms like flickering, noise, and unstable lighting help improve visual stability. Alternatively, MagicLight AI automatically keeps your backgrounds perfectly steady without extra text.
5. Should I use positive and negative prompts together?
Combining both types of instructions helps you direct the system much better. The normal description sets the scene while negative terms remove bad glitches. For an easier workflow, MagicLight AI balances these settings without manual effort.