Explore the Magiclight AI Inpainting Features
An edit works when one area changes and the rest stays believable. AI inpainting in Magiclight AI starts from your photo and a written instruction.
Edit specific parts of your images with MagicLight AI. Describe what you want to change or remove, and let AI update the image. No brushes or editing skills needed.
Try AI Inpainting for Free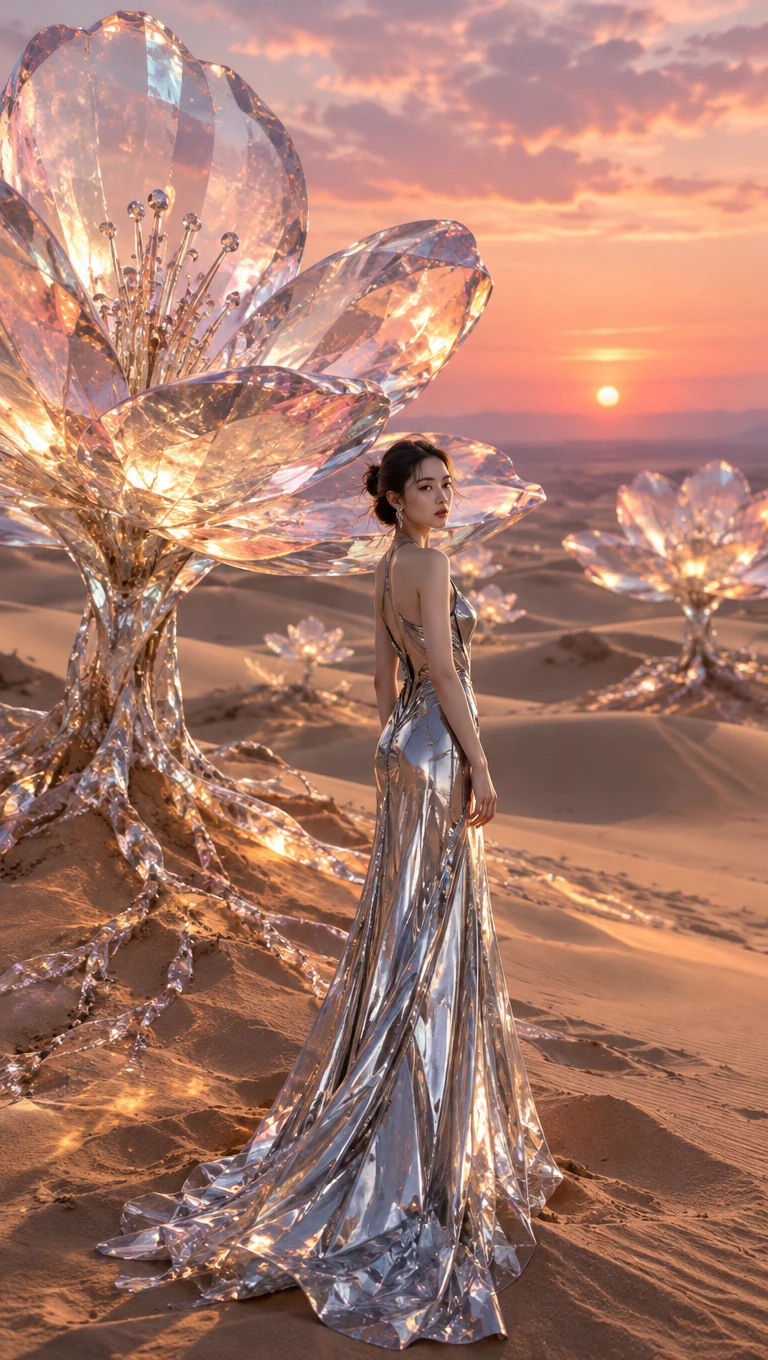
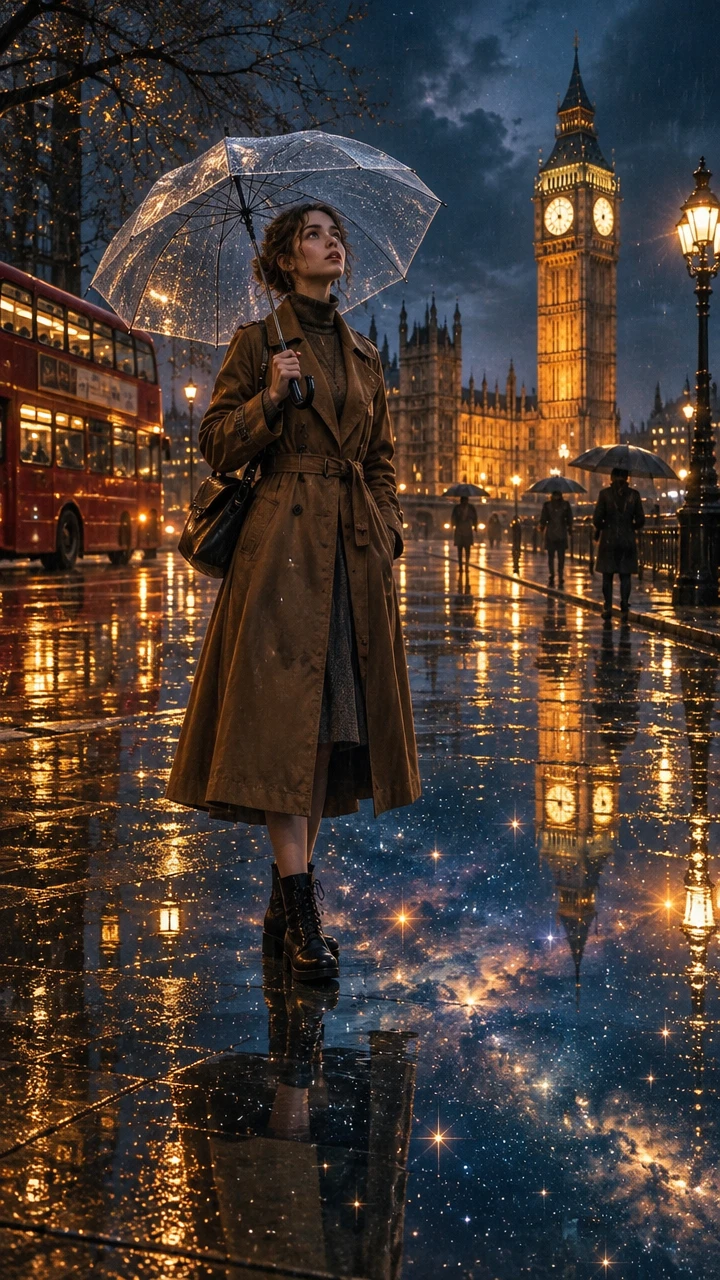
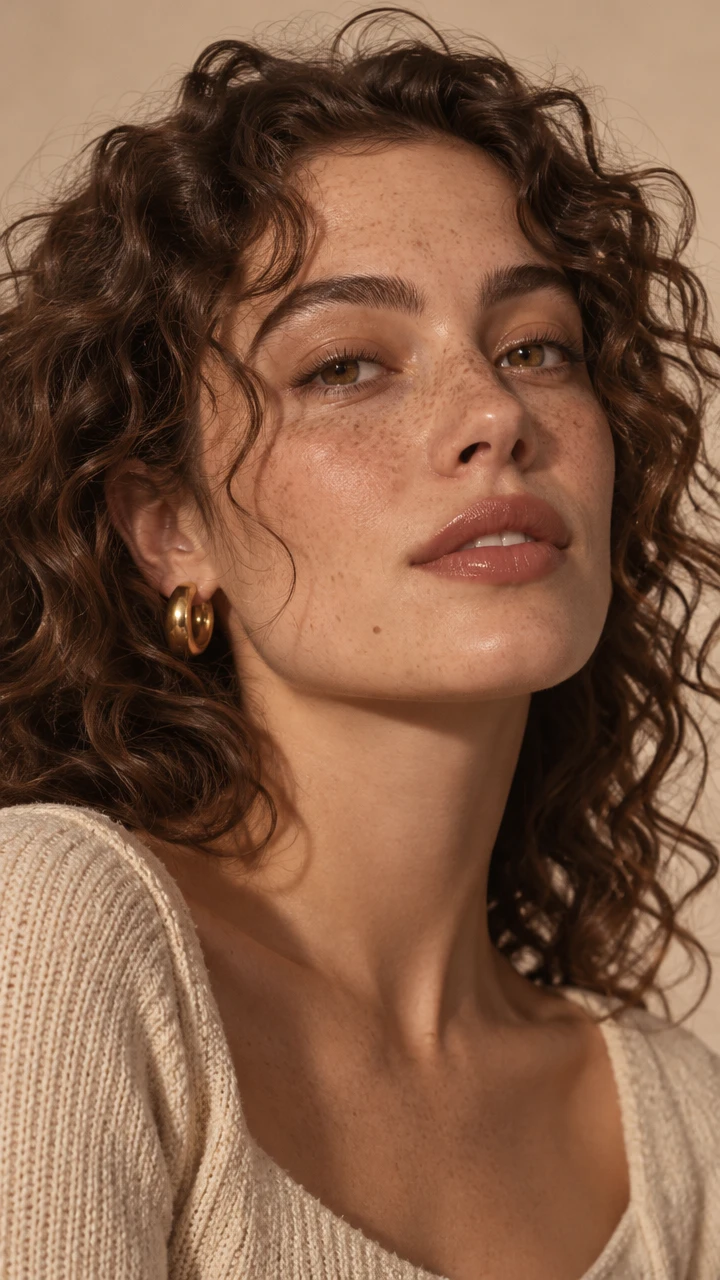
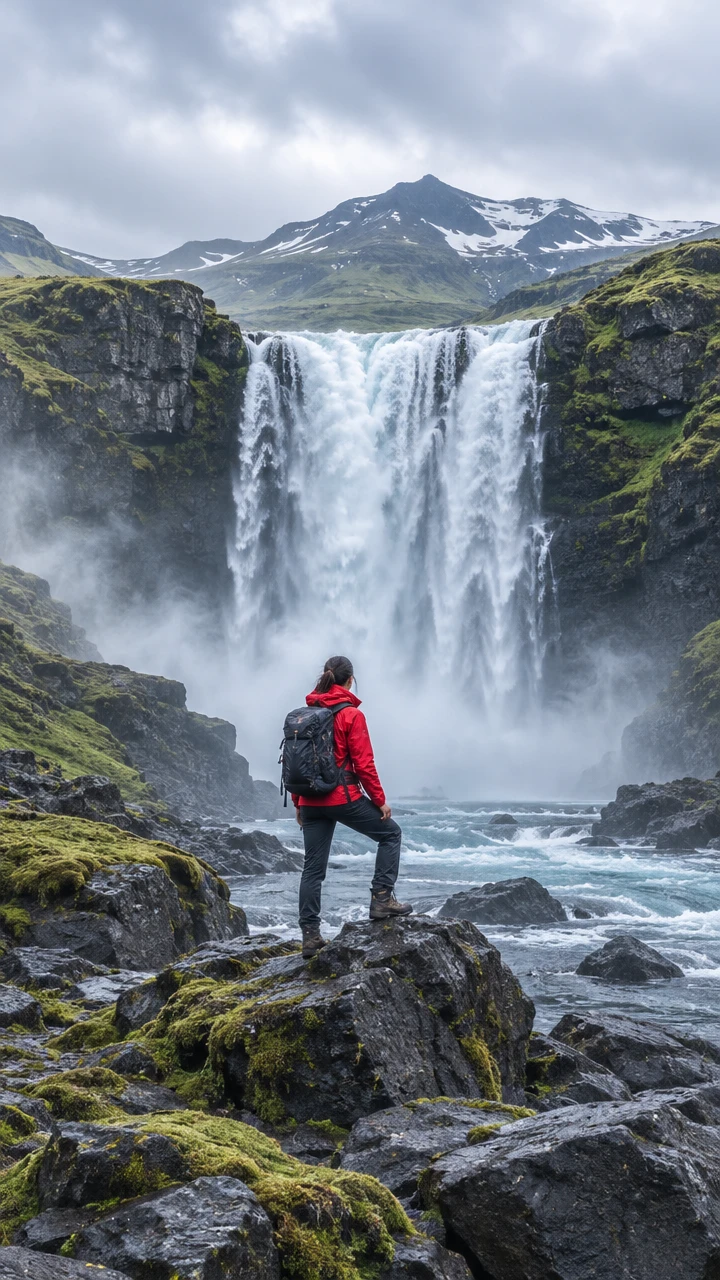
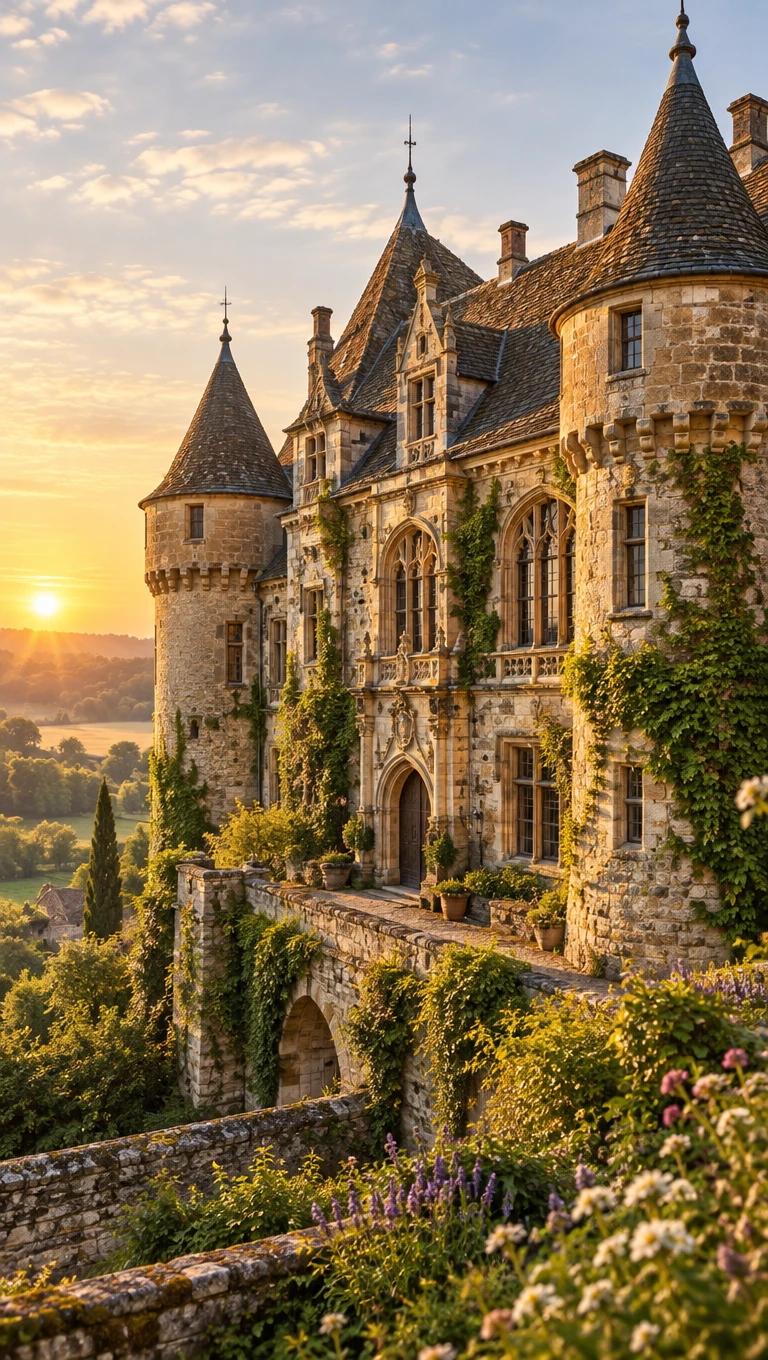
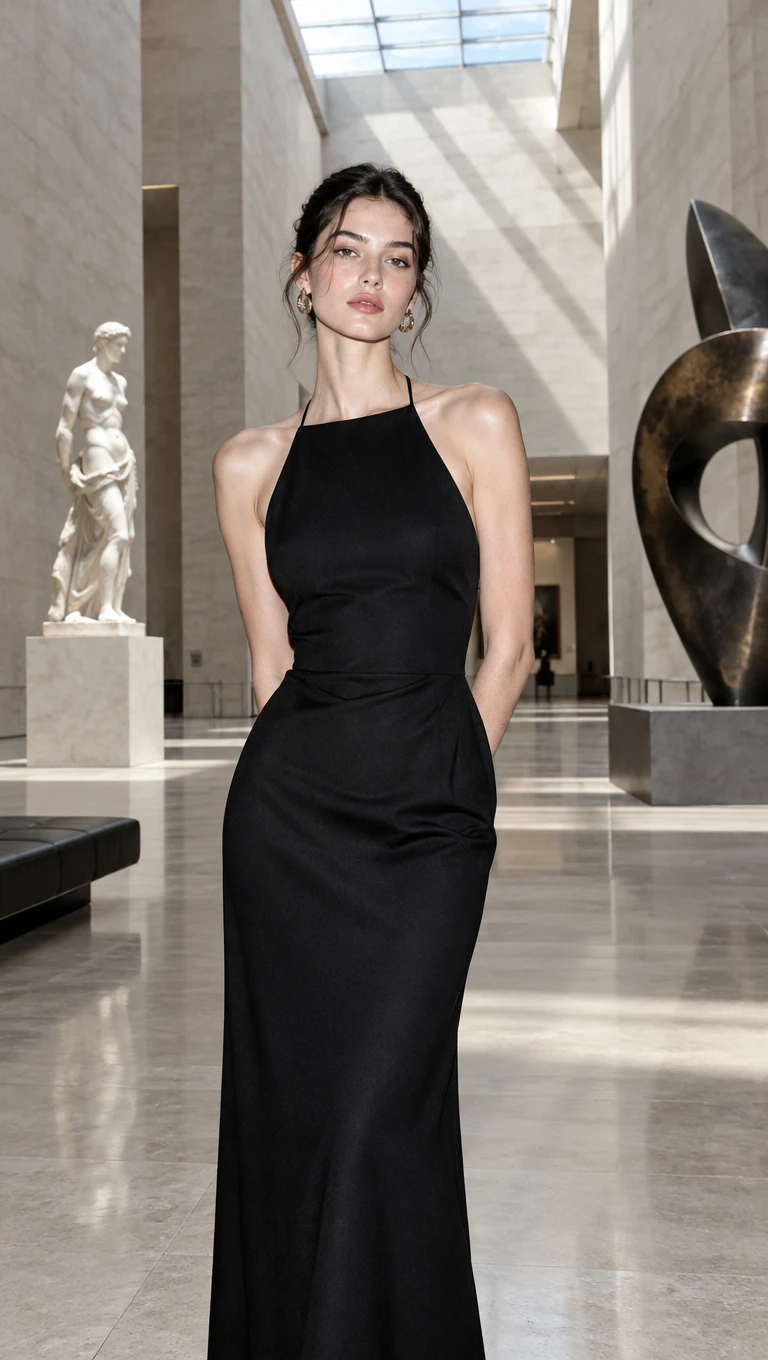
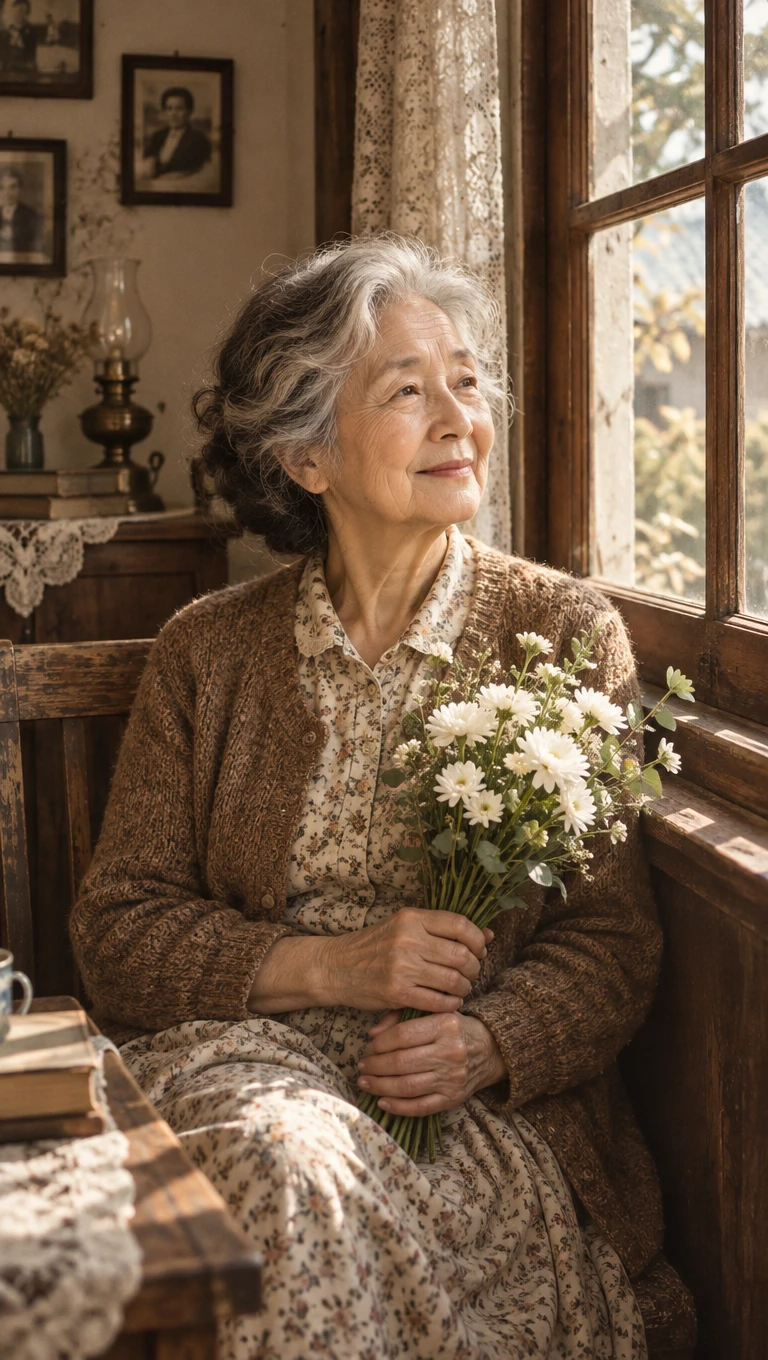

An edit works when one area changes and the rest stays believable. AI inpainting in Magiclight AI starts from your photo and a written instruction.
Upload the photo you want to fix as the edit reference. Its composition and subject guide the new version of the picture. The change starts from a photo you already like. 
State what should change and where it sits, such as behind the model. Add what must stay in place within the 500-character prompt, such as the pose and the table. Exact wording leads to cleaner and more predictable edits.
Upload JPG, PNG, and WEBP originals as the starting picture for the edit. A sharp source gives the edited area more texture to match. Each file can be up to 20MB before it is rejected.
Reframe the fixed picture as 16:9 or 9:16 or 4:3 or 1:1 for its next use. A repaired product photo can then serve as a banner or a Story. Set the shape before you create the image. 


Your fixed picture takes 3 steps in Magiclight AI. Clear instructions in step 2 help AI inpainting change only the area you name.
Choose the picture and decide which detail needs to change. Open the Image tab in the Toolbox and use the reference option for the upload. Add the photo and any replacement items you plan to use. 
Name the area and where it sits, such as the top left corner. Say what should change and what must stay exactly as it is. Keep the whole instruction within the 500-character limit. 
Select a model and keep the original frame shape for the first try. Click Create Image and compare each result with the original photo. Download the best version once it looks right. 
No, because AI inpainting here works from written instructions, not a painted mask. Name the area and the change as clearly as you can. Add what must stay in place for a cleaner edit.
Most of the original stays when you say what to keep, but nearby details can shift slightly. Compare the result with your original photo before you use it. Run the instruction again if something moved.
Yes, by describing what to remove and what should fill the empty space afterward. Edit only photos you own or have permission to change. Check the result for leftover edges before you publish it.
Yes, by uploading a photo of the new item as a reference and saying where it goes. The reference guides the shape and the color of the replacement. Check the final picture against the real item.
Yes, if the edit was made on a plan licensed for business use. Do not hide real defects in product or property listings. Check each platform’s rules before you publish the edited picture.
Yes, since a new account starts with starter credits for early tests of the tool. Try one fix and compare two models before you decide on a plan. Upgrade only when you need more edits or commercial rights.

Bring the picture you love and the one detail that is wrong. AI inpainting in Magiclight AI gives you a fix to compare.